Formatting. Every time I finish a book and start the process of formatting it for print, I have to run around and look at at a thousand different pages trying to remember everything I know about formatting. Every time, I end up looking up half a dozen new pages because I’ve lost or misplaced my bookmarks. Every time, I feel like pulling out my hair because it’s a lot to juggle while distilling it all down to the vital bits. This time I’m writing it all down as I go, so there will be a handy guide for next time and so other indie authors have a useful one stop shop for all their info.
First up: paperback book covers. These are always a PITA to do because all of the POD have slightly different available trim sizes and each book requires a custom spine size, which effects the overall dimensions of your book cover. This particular ‘how to’ isn’t going to go into photomanipulation or fonts, as I’ve already discussed that at length in my “When to Pay, When Not to Pay” series. This time I’m going to cover finding the dimensions for your paperback book reliably, easily and without too many headaches.
Unlike with your ebook covers, which are a standard rectangle (usually 800×600 pixels) each paperback or hardcover book’s cover is unique thanks to things like ‘page bleed,’ ‘trim area,’ ‘live area,’ and the all important, all frustrating, spine width. Thankfully most of the POD sites offer some form of book cover ‘calculator’ that will estimate the overall size of the book cover for you based on the size of the book you want or they offer templates that are both completely useless and a big help.
Alright, first decide on which POD site you’re using (this time I wanted to use Lulu as I want a proper pocket book sized novel but as I went on I realized they were not cost effective so I’m back with Createspace though I hate them). Find their templates page and download a template for the inside of your book as well as the book cover.
Next: get a rough and dirty working estimate of your page count. Open the interior book template, locate the section where your text would go and highlight all of it. Open your book and hit ctrl+a then copy the entire text. Go back to the interior book template and paste the unformatted copy of your book into the highlighted section, in entirety. Wait for it to load, then look at the final page count of your novel. You might want to adjust fonts and font size now to get a slightly more accurate page count.
Go to the site’s book cover calculator, paste the page total in to the calculator where required. Now things get slightly different for Lulu vs Createspace. The following is a very rough and tumble summary of final fine tuning for your images. If anyone gets lost, please post a comment and I’ll amend the guide with additional information to answer you questions.
For Lulu
You may also have to add a few pages as your total number of pages must be divisible by 4. Do not close the calculator!
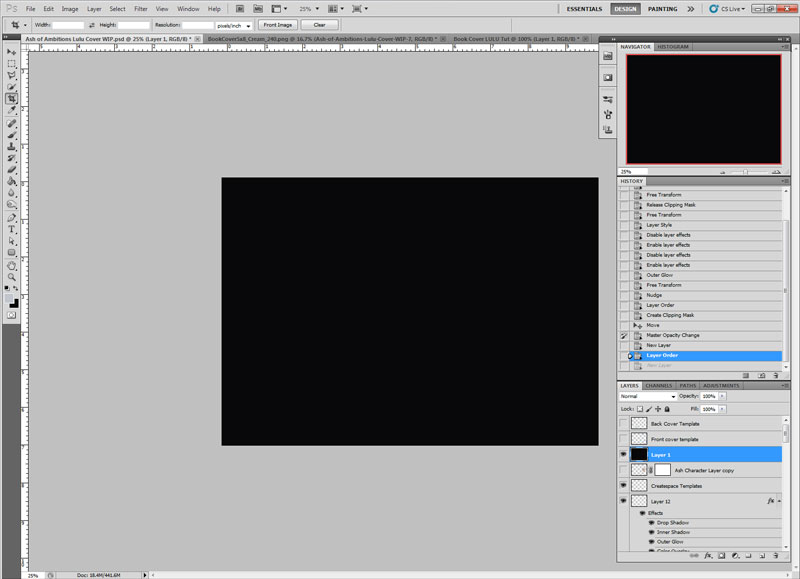 Open your image editing program and use the total dimensions that the calculator gives you to define your new image’s length and width (I’ve filled this one with black just so it’s easier to see). Make sure you give it at least a resolution of 300 dpi. Save this document but don’t close it.
 Now open the front book cover template that you got from Lulu in your image editing program. Copy the entire image and paste it onto a new layer of your new image. You may want to adjust the opacity so you can clearly see it and your base layers. Lock it to scale and align it with the right edge of your new image, while adjusting the size until it matches your new image.
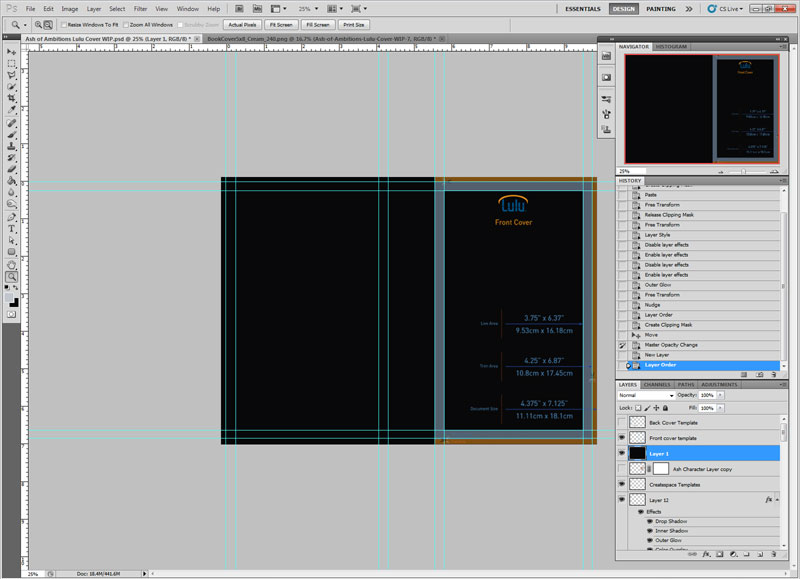 Use the ruler tool to place guide lines on your new image that match the template. Then flip the template and do the same for the trim edge on the far right. You can then hide the template layer.
Finally look at the calculator and note where it says the spine should begin. Show your ruler on your image and mark that line. Look at the overall width of the spine and place another line where indicated. Save your work.
For Createspace
You’ll have to download a customized template with an appropriate spine width for your novel.
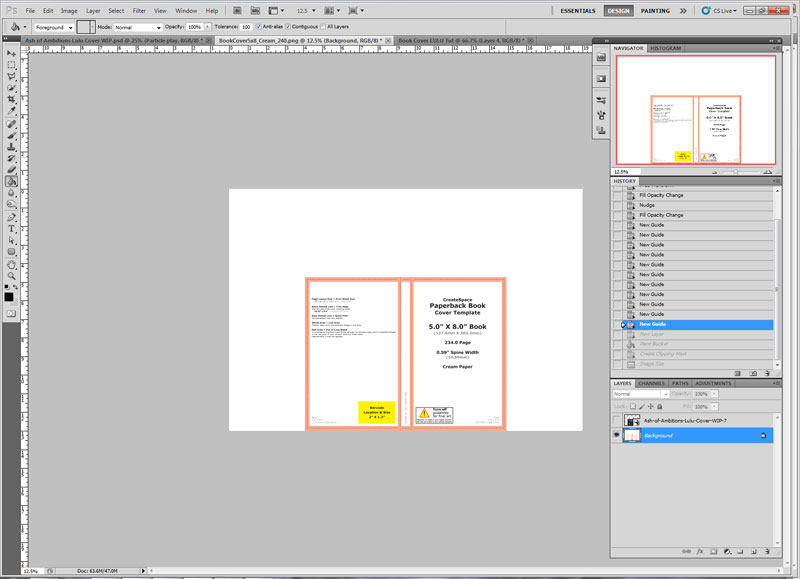 Open the jpg that they give you directly into your image editing program, this will be your working document so go ahead and rename it if you want. Make a new layer and work directly over the cover template size.
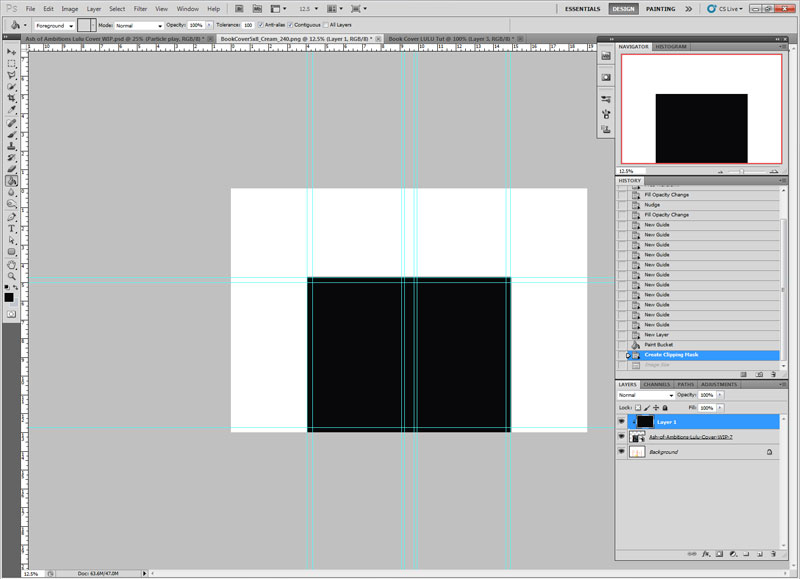 Use the rulers to create a grid guideline for your work so you don’t stray into the bleed areas. I created the grid over the original layer but then I filled it in black so they’re easier to see.
Remember: if any ‘live elements’ get into the bleed area of your Createspace book cover it will be rejected. So stay well within the lines. As long as all of your busiest work (words, faces, people, etc) are within the inner most rectangles you should be fine.
You now have a very good guide for your new paperback book cover.
Be sure to check out the other steps on formatting your paperbacks interiors with Microsoft Word:
And as always – if there’s anything I’ve neglected to cover that you want to know, just ask in the comments and I’ll see what I can do to help.

Leave a comment